
Bringing an animal to the UK isn’t easy, but it’s not impossible either. We did it and lived to tell about it. Just follow these steps:
- Make sure you like the cat and want to keep it regardless of the time, money, and hassle this will take. This conviction will be tested.
- Google “taking a pet to the UK” and “traveling with your cat.”
- Skim UK website about bringing a pet into the UK, click link after link through the maze.
- Naively think this won’t be difficult.
- Research, read, and listen to 382 different opinions about the “correct” way to travel with a cat.
- Decide to listen to the trained experts over the self-appointed experts and stop talking to anyone about it.
- Ask your vet’s office if they can provide the required veterinary certificate of health.
- Forget about it for a while since nothing else can be done until closer to the actual move.
- When your relocation consultant offers a referral to a company that handles pet relocation (for a fee), accept the referral.
- Don’t respond to the friendly email from the pet relocation service right away; you’ve got this.
- After a busy day, go ahead and respond to that email because you might as well find out how much they charge—how bad could it be?
- Try not to feel overwhelmed at the volume of information the pet relocation company sent as you search the email for the cost.
- Open your eyes wider and move your head closer to the screen to re-read the amount.
- Do your best Tom Hanks’ laugh.
- Double-down on your conviction that you can do this yourself. You don’t need no stinkin’ pet relocation company.
- Read the information the pet relocation company sent, though.
- Nervously consider paying the $3,500 fee. Wonder if that’s why they sent so much information.
- Feel overwhelmed, so forget about it for a while.
- A month before you leave, decide it’s time to start checking boxes on the pet relocation.
- Realize you’ve forgotten almost everything you read.
- Read it again, noticing things you missed before. There are different kinds of microchips? Microchips go bad and sometimes can’t be read? What?
- Don’t panic—or do.
- Wrangle the cat into its carrier and stop by the vet to confirm the microchip is readable. If not, she’ll have to be re-microchipped and re-vaccinated at least 21 days before entering the UK.
- Breathe a sigh of relief when it’s successfully read.
- When you get your plane tickets (after paying $XXX for the cat to fly with you), make an appointment with the vet for five days before your flight.
- Ask again if the vet can provide the needed certificate. Try not to freak out when the vet assistant’s answer inspires zero confidence that she even understood the question.
- Print out the form for the vet to complete, realizing only then that it needs an endorsement from the USDA.
- Check the USDA website and resign yourself to a trip to the nearest (nearest, not nearby) USDA office the day after the vet appointment.
- Call to make the recommended appointment. Learn from the automated system that you can’t make an appointment more than five days before you’re leaving the country. And by the way, appointments aren’t just recommended as the website says; don’t bother showing up without one.
- Re-arrange your schedule and request a day off work for that excursion, even though you can’t make an appointment yet.
- Call back the morning of the first day you can make an appointment. Try to keep your blood pressure in check when they’re not sure there are any left that day. Feel only a little relief when they offer an appointment time, at 8:30 am. Explain that you’re driving 130 miles there, so you’re not sure you can make an 8:30 am appointment with LA rush hour traffic.
- Feel muscles you didn’t realize you were tensing relax when you’re given a 10:30 am appointment instead.
- The day before the vet appointment, review the form again and realize that it asks for information your vet won’t have. They didn’t administer the rabies vaccine; it was done before the adoption. You need the manufacturer’s name, lot number, and lot expiration date. You don’t have it.
- Console yourself that it says you can do a blood test to show immunity to rabies instead.
- Call the vet to see if you should bring the cat in that day for a blood draw so they’ll have the results for the appointment. Learn the results of the blood test will take 21 days. Your flight is in a week.
- Panic and tell your partner who thinks you have this all under control.
- Drive to the animal shelter while praying that they have the needed information on file.
- Appreciate the friendly people at San Diego Department of Animal Control as they quickly provide what you need.
- Laugh at yourself just a little for panicking earlier.
- Bring everything you’ve accumulated to the vet appointment. Don’t forget the cat.
- At the appointment, mention the different kinds of microchips and how the UK government website says one thing, but the pet relocation company’s information says something else. Decide to allow the vet to re-microchip the cat to be sure it has the right kind because the consequences of it being wrong are severe. Thankfully, the first microchip can be read, so the cat won’t have to be re-vaccinated.
- The vet doesn’t need the form you printed out because she can complete it on her computer and print it out to sign.
- Smugly leave the vet’s office thinking you have this all under control—$3,500 for pet relocation? I don’t think so.
- Drive to the USDA office. Congratulate yourself for arriving early and treat yourself to a refreshing beverage at a nearby convenience store to kill some time.
- Walk into the USDA office and immediately lose all confidence.
- There’s no one at the closed window to check in with. Stand there wondering if you should take a number since you have an appointment until one of the many waiting people asks if you have an appointment. When you say you do, they tell you to wait and you’ll be called when it’s your turn.
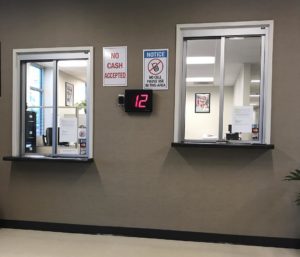
USDA lobby in LA – That number never changes and those windows are soundproof. - Wait while your appointment time comes and goes and no one has been called.
- Watch a few people called to the window only to be told that their paperwork is wrong and they need to go back to their vet. Realize one of those people is from a pet relocation service.
- Try and fail to remain confident, but at least you can sit down now since there are a few empty chairs.
- When your name is finally called, take your paperwork to the window.
- Watch the employee look it over, walk to their desk, grab a pen, mark a big red X across it, staple a nasty note on it, come back to the window and tell you to go back to your vet and come back with the correct form. They won’t say what the correct form is or where to get it, but you don’t have to make another appointment if you come back the same day.
- Point out that it’s a 260-mile round trip, so you can’t come back the same day. Ask for another appointment and repeat the bit about not being able to make an 8:30 am appointment because of how far you have to drive and, you know, LA traffic is a nightmare!
- Call the vet’s office while you’re driving home (use Bluetooth, of course), and tell them they gave you the wrong form.
- Drive straight to the vet’s office to get there before they close. Calling your partner to rant and rave during this drive is optional but recommended.
- Give the vet the nasty note from the USDA and appreciate that the vet is apologetic and as horrified by the note as you were.
- Agree to come back the next day.
- Go to the vet’s office to pick up the form and spend an hour conferring with the vet on how to complete portions of it. Listen as the vet explains the numerous calls made and emails sent to the USDA with no helpful response, but at least she found the correct form hidden on the website.
- Agree to take multiple copies of the form filled out in different ways so that if one is wrong, you can give them a different one. As the vet prepares these, a helpful email response finally comes in from the USDA.
- Take the correct form correctly filled out and the vet’s business card so you can call if there are any problems.
- Drive back to the USDA. Don’t congratulate yourself for arriving early and don’t stop for a refreshing beverage.
- Wait in the lobby and be the helpful person who tells confused new arrivals how things work around here.
- Go to the window when called and hand over the form.
- Watch nervously as the employee looks it over. Feel relief flood over you when she keeps it and asks for a rabies certificate.
- Pull the rabies certificate out of your folder and hand it over while thanking your lucky stars that the animal shelter gave it to you. And that you brought it with because nothing and no one said that you needed to provide one.
- Hand over your debit card for the processing fee, and sit down to wait as directed.
- When called, go back to the window and accept the newly-endorsed form along with your debit card and a receipt. Save the celebration for the privacy of your car as you drive home.
- Use the airline’s website to figure out where you’re supposed to take your pet and how long before the flight it needs to be there.
- Show up then and there and be told you’re too early.
- Leave your partner with the cat until it can be checked in, while you go to the passenger terminal with the luggage because the car service has another pick-up they need to get to and can’t wait.
- At pet check-in, your partner will pay another $XXX fee, leave the cat and the paperwork with the airline, and get a Lyft to join you at the passenger terminal.
- Relax and enjoy your flight.
- Upon arrival, proceed to your accommodations because it will take four to six hours for the cat to be processed through customs.
- Begin fielding phone calls asking for more money for handling the cat. They don’t use the word ransom, but it crosses your mind. Give them your credit card number and wonder (again) what you were thinking.
- When it’s time to go get the cat, call a cab and pay a small fortune for the round trip.

Credit: Berkeley Breathed - Pick up your cat who now resembles Bill the Cat. The Heathrow Animal Reception Center officer will reassure you that she is a sweetheart and they took good care of her.
- Listen to her meow-yell at you the entire ride back.
- Don’t worry, she’ll only ignore you for a few days.
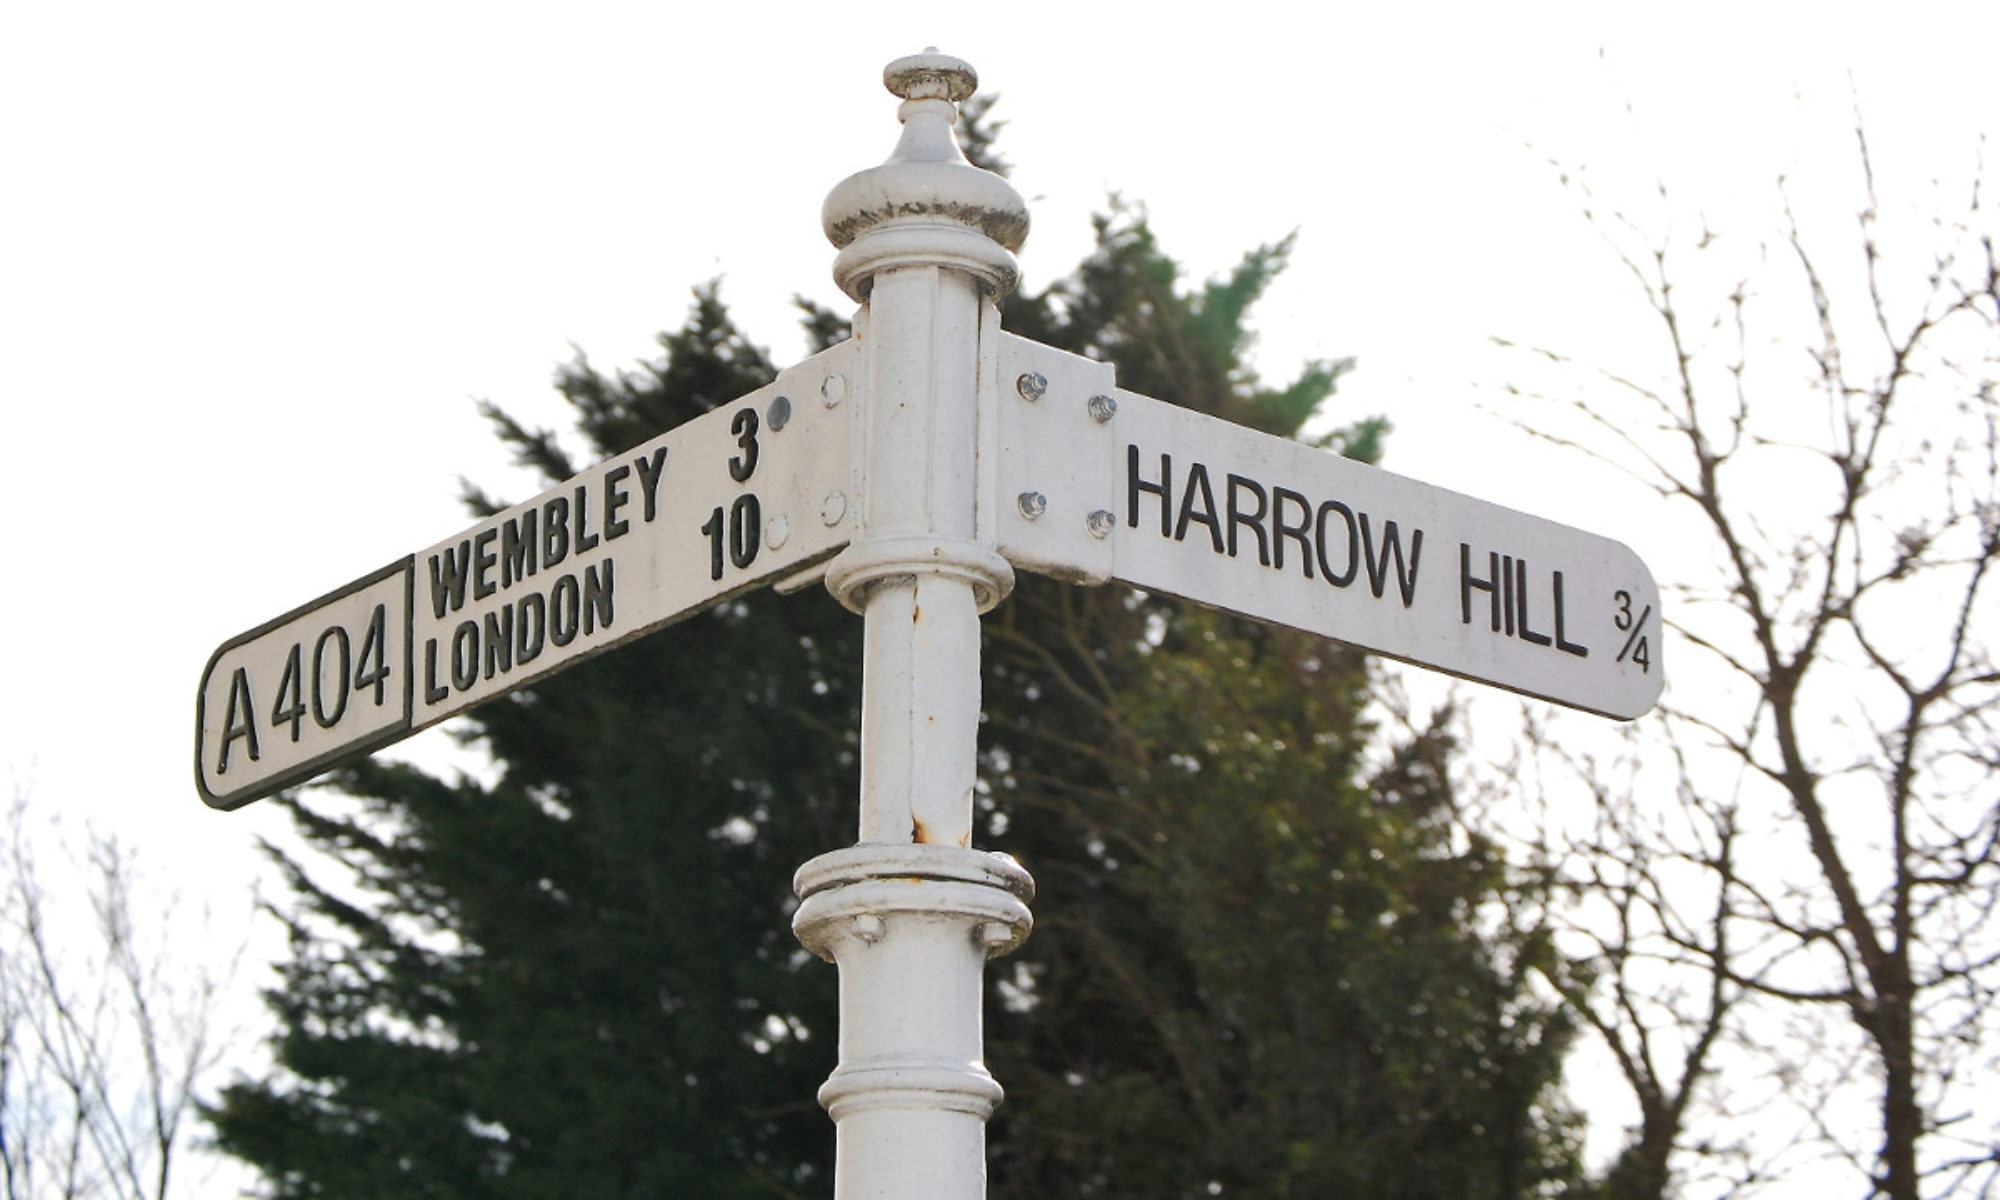


 On the morning of my first day at work here, I stepped out of our temporary apartment into the February cold and tried to keep my mind focused on the immediate task: just getting there. Walking through the station parking lot, I fingered the new Oyster card in my pocket. How hard can this be? I thought. It’s one train. It’s a few minutes on one train.
